"Modular Reference" series
Modular Reference Series Audio Racks
The Model "Altair"

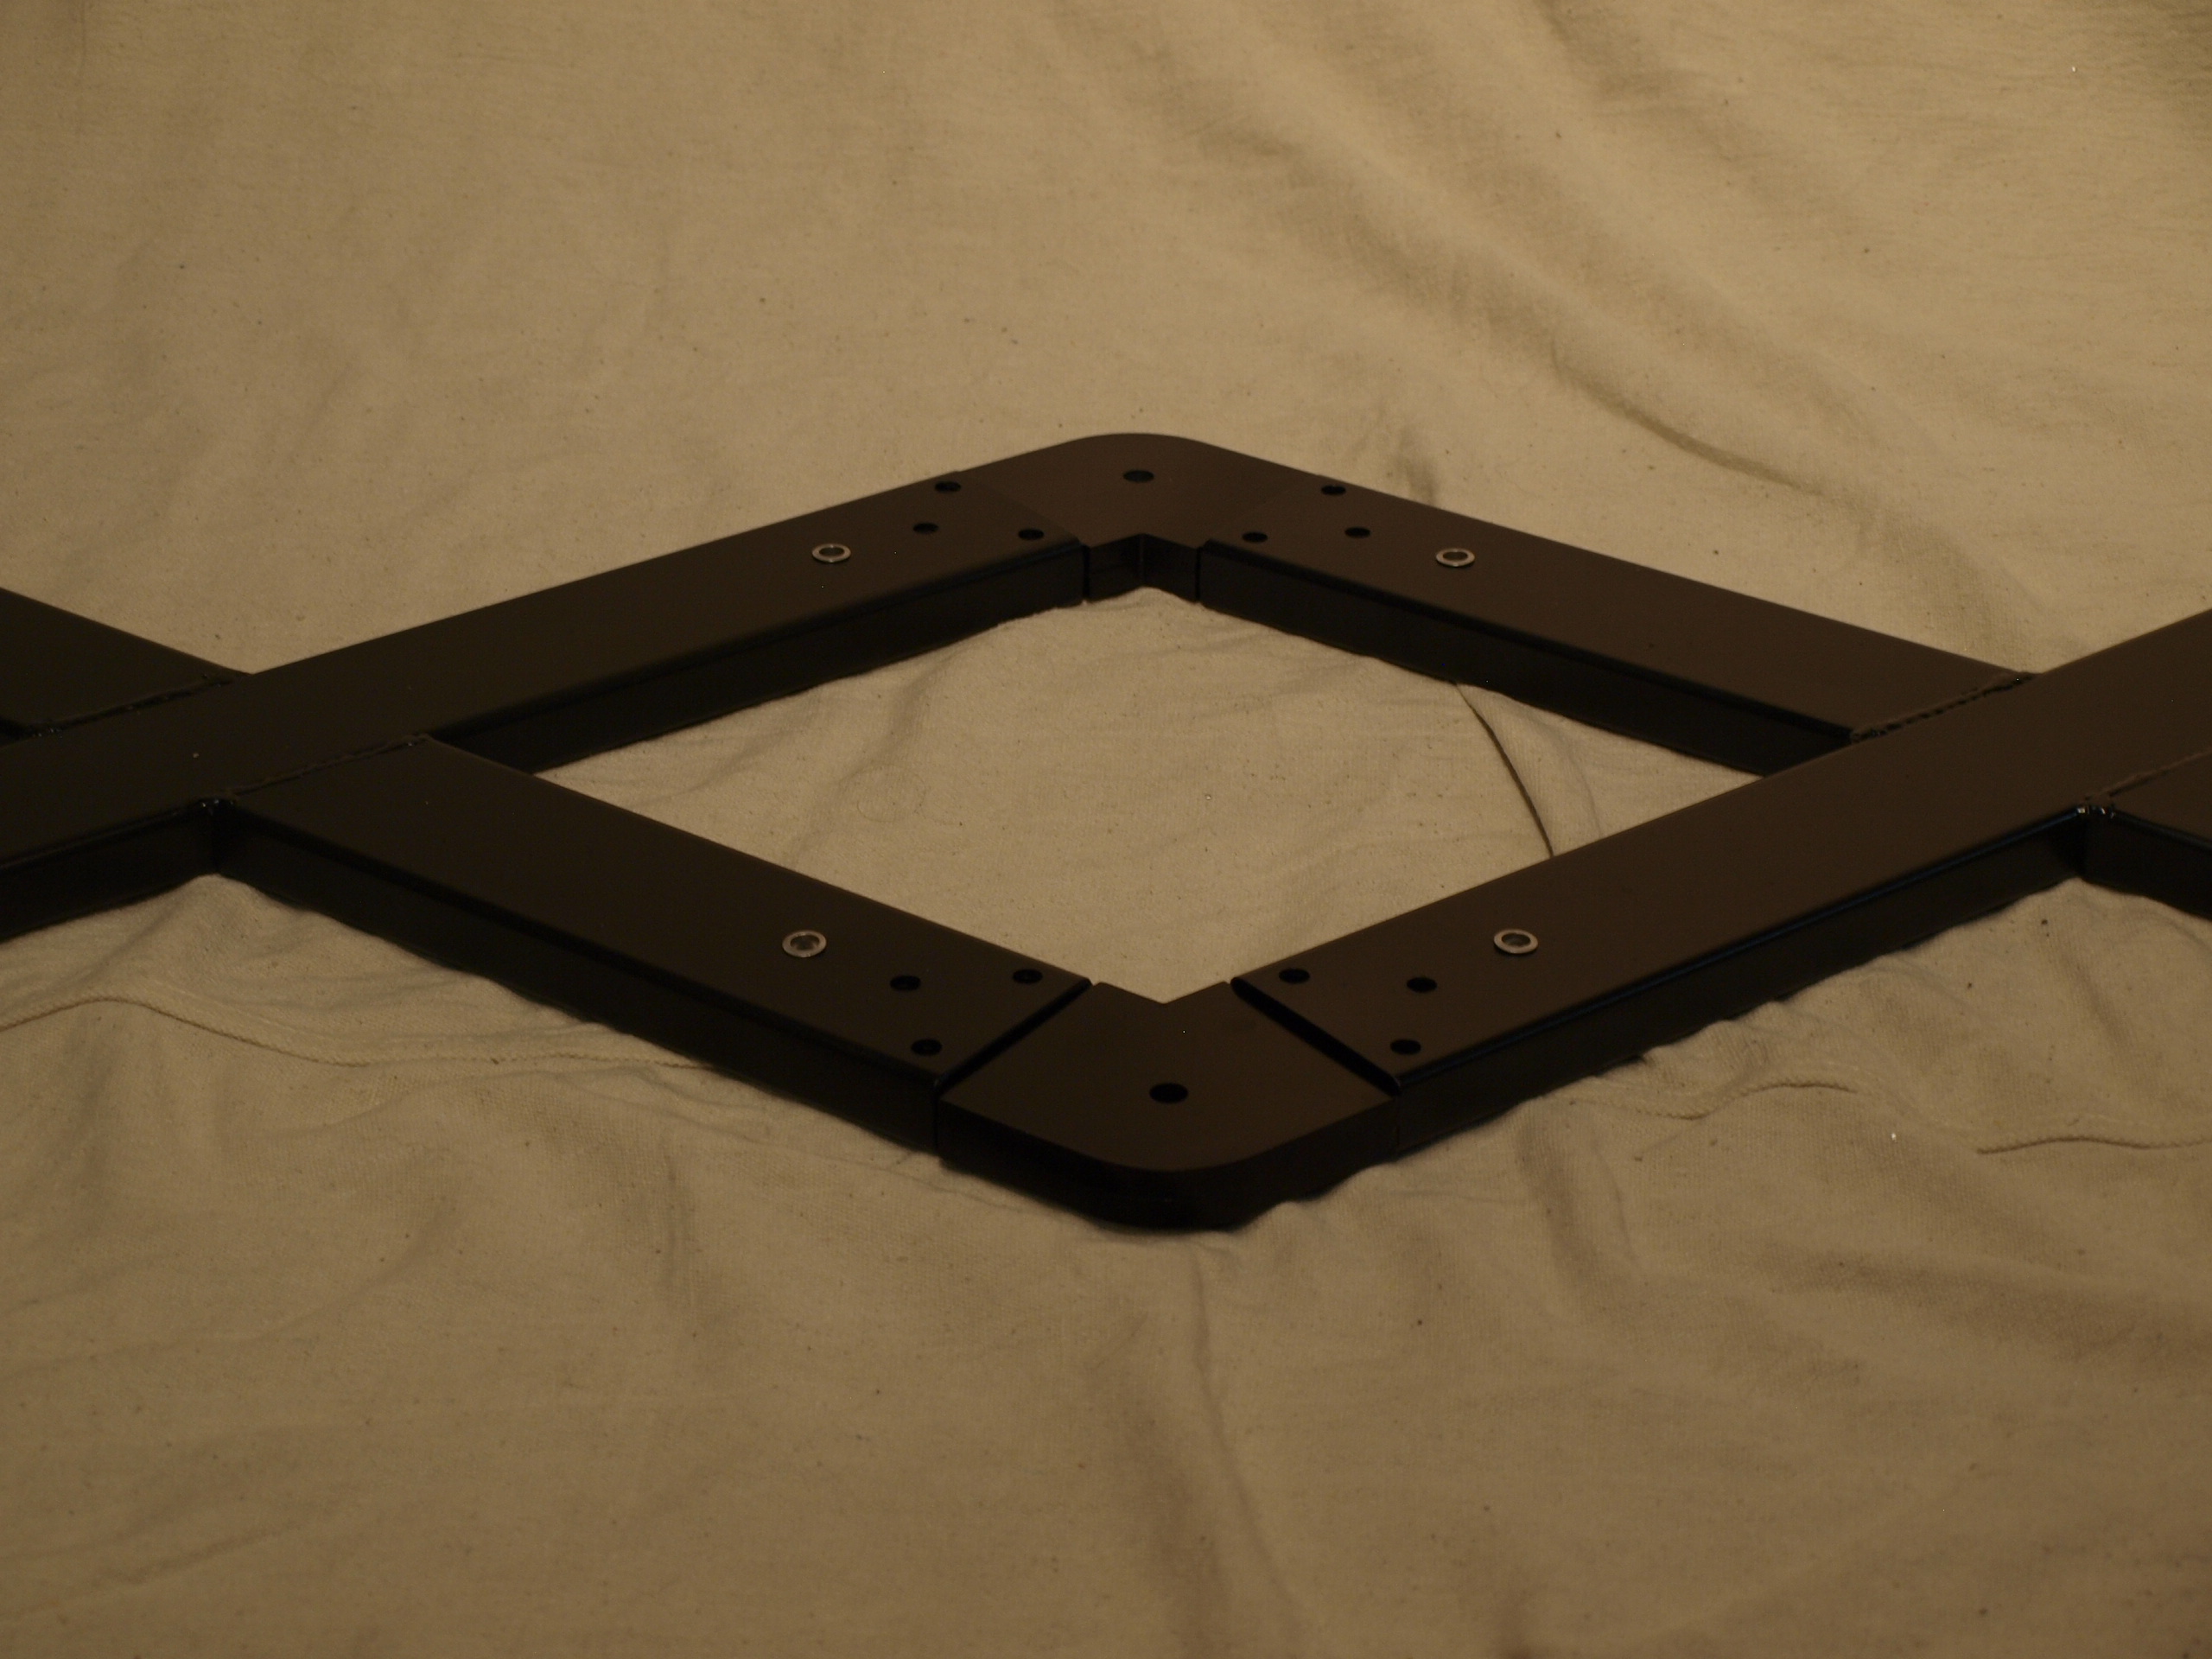
Gather parts for lower frame assembly:
Gather the parts for the lower frame assembly and lay them on the floor in the approximate position where they are used. The example shown is for a double-width rack. The parts used for the lower frame are the same as those used for the upper frame.

Attachment connector orientation:
Be sure the correct side is facing upward as shown. The larger flange side of the threaded inserts should be facing the floor.

Install attachment connectors:
Insert the attachment connectors into the ends of the X-frames.
Insert the button head screws into the attachment connectors but do not fully tighten them at this time.
Note the postion of the expansion attachment connectors.

Plug the frames into each other:
Plug the two frames together slowly, while making sure both connectors are inserted at equal rates. If one side is slid in more than the other, they may bind. In which case, simply pull them apart and try again.
Complete the lower frame assembly:
Complete the lower frame assembly by inserting the remaining button head screws. Go back and tighten all of the screws.

Triple width option:
Skip this step if building a single or double width rack. For a triple-width rack, assemble as above, but continue to add a third X-frame using two more expansion connectors.

Assemble the upper frame assembly:
Build an upper frame assembly just like you did for the lower frame. At this point, the upper and lower frame assemblies are exactly identical.

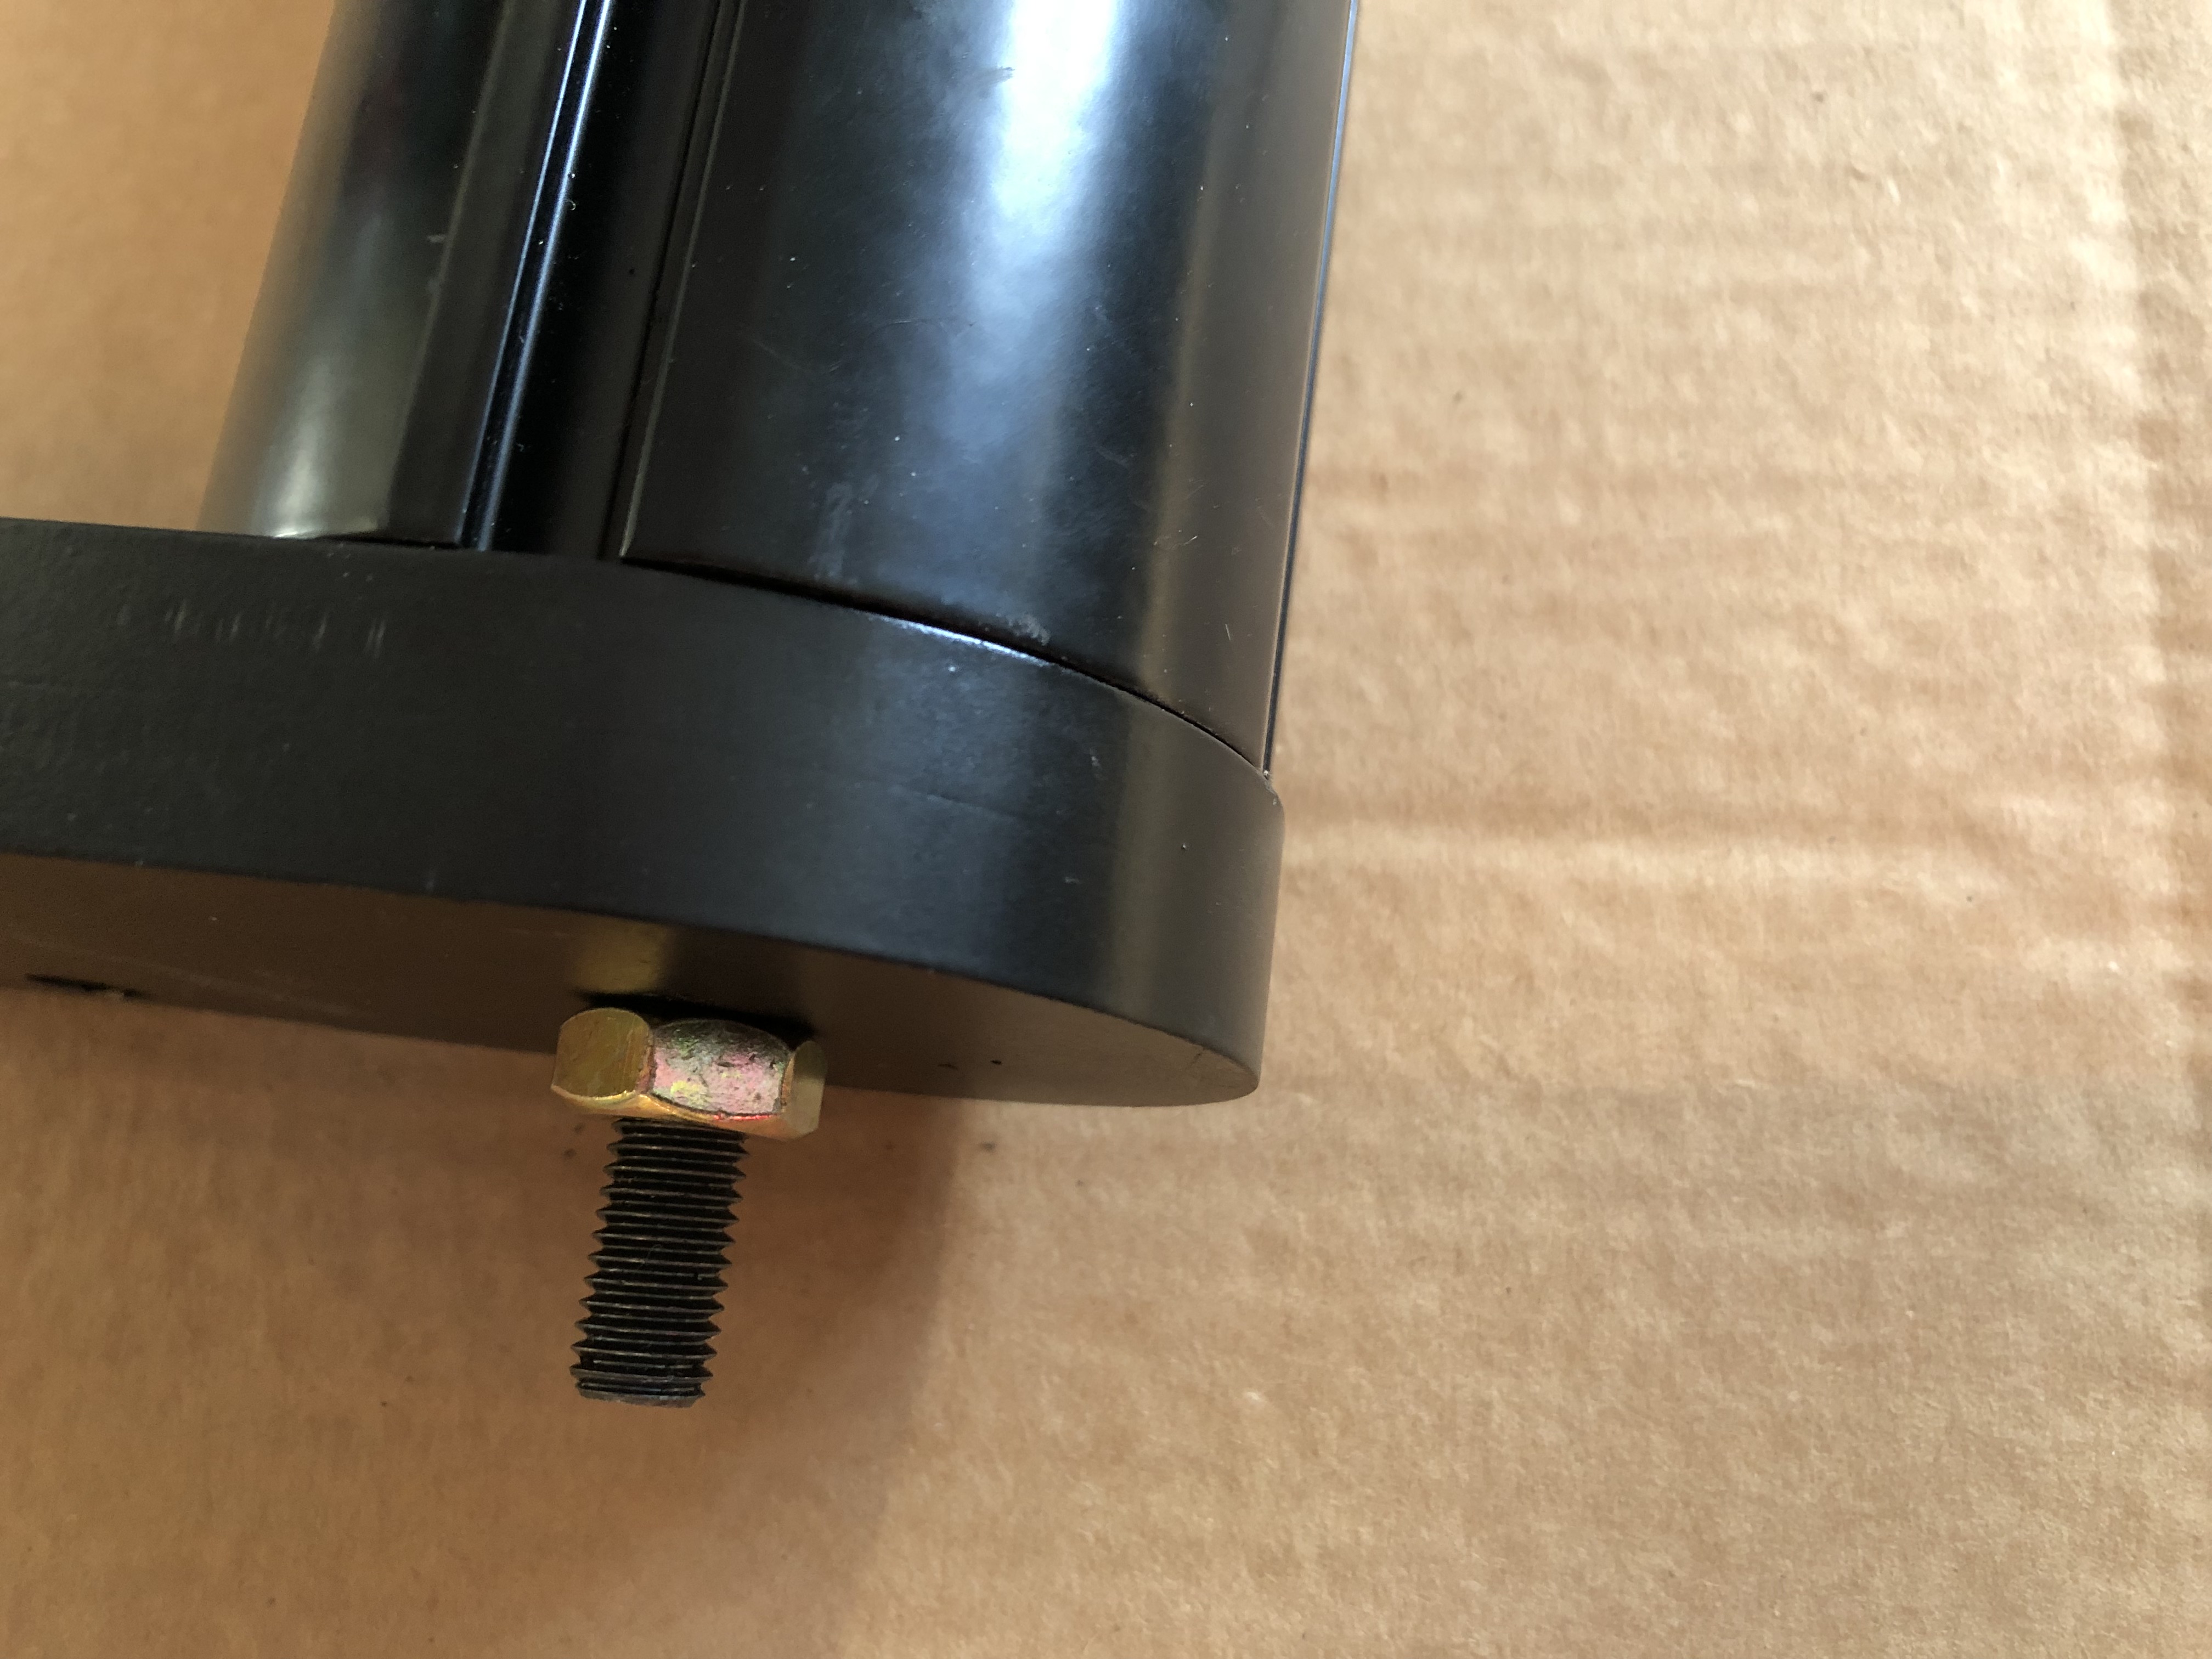
Prepare the leveling footers:
Skip this step if using optional floor cones. Using a measuring tape, position the hex nut one inch above the leveling foot.

Prepare the shelf supports
Using the allen wrench provided, loosen each of the two attachment screws slightly, just enough that they can easily slide into the tracks on the columns.

Prepare the columns
Install a platform support bracket onto each of the columns. Both ends of the column are identical. Once installed, the round platform adjuster defines which end of the column is now the top. On a double or triple width rack, there will be two brackets installed on each of the center columns. The two brackets are at right angles to each other (90 degrees), not opposite sides. The exact height position is not importent at this time. Tighten just enough to hold it in place.

Attach the first column (using leveling feet, see below for cone feet)
Tilt the lower frame up on its edge as shown. It helps to have an assistant, although the rack may easily be assembkled by one person. Attach one of the columns. The column is held in place by a cone assembly or leveling foot as shown. It only needs to be finger tight at this point. Note the direction the brackets are facing. Remember that on a double or triple width rack, there will be two brackets installed on each of the center columns.

Attach the first column (using cones):
(When using cones - continued) Thead an M10 threaded rod into the bottom of each of the columns. Measure and adjust so that exactly 2 inches of the rod sticks out.
Attach the first column (using cones):
(When using cones - continued) Insert the column with the threaded rod thru the attachment connector on the lower frame and secure with an M10 hex nut.

Attach the first column (using cones):
(When using cones - continued) Place the decorative end cap over the M10 rod and also screw on the cone footer finger tight.

Attach the first column (using cones):
(When using cones - continued) Complete the above procedure for the remaining columns. Add the brass cone tips and move to the next step.

Attach the remaining columns:
Attach the remaining columns, while making sure they all face the correct direction. Also note that the end columns have a single bracket. The center columns have two brackets.

Place lower frame assembly in upright position:
Lift the frame assembly into the upright position. Take a moment to ensure all of the columns are in the correct orientation. Also, make sure the brackets are facing the correct upward direction. If you notice a bracket upside down, loosen it and flip it over. Once the top frame is in place, you will not have access to the brackets.

Install the upper frame:
Rest the upper frame assembly onto the columns.

Install decorative caps:
Guide one of the large flat-head bolts through the top cap, through the frame and into the top of the column.

Add remaining top caps:
Install the remaining top caps. If at any time the holes don't align properly, loosen the screws on the lower frame. This will allow the column to move into position easier. Re-tighten all of the screws.

Install the bushings and platforms:
The lower bushings have rubber caps. Install these on the lower frame. The upper bushings are metal. Install these on the upper frame. Go back and tighten all hardware. Add the platforms. Adjust the platforms as needed.
-
Reference Series

-
Signature Series

-
Modular Series

-
Tweaks and DIY Parts
