Assembly instructions
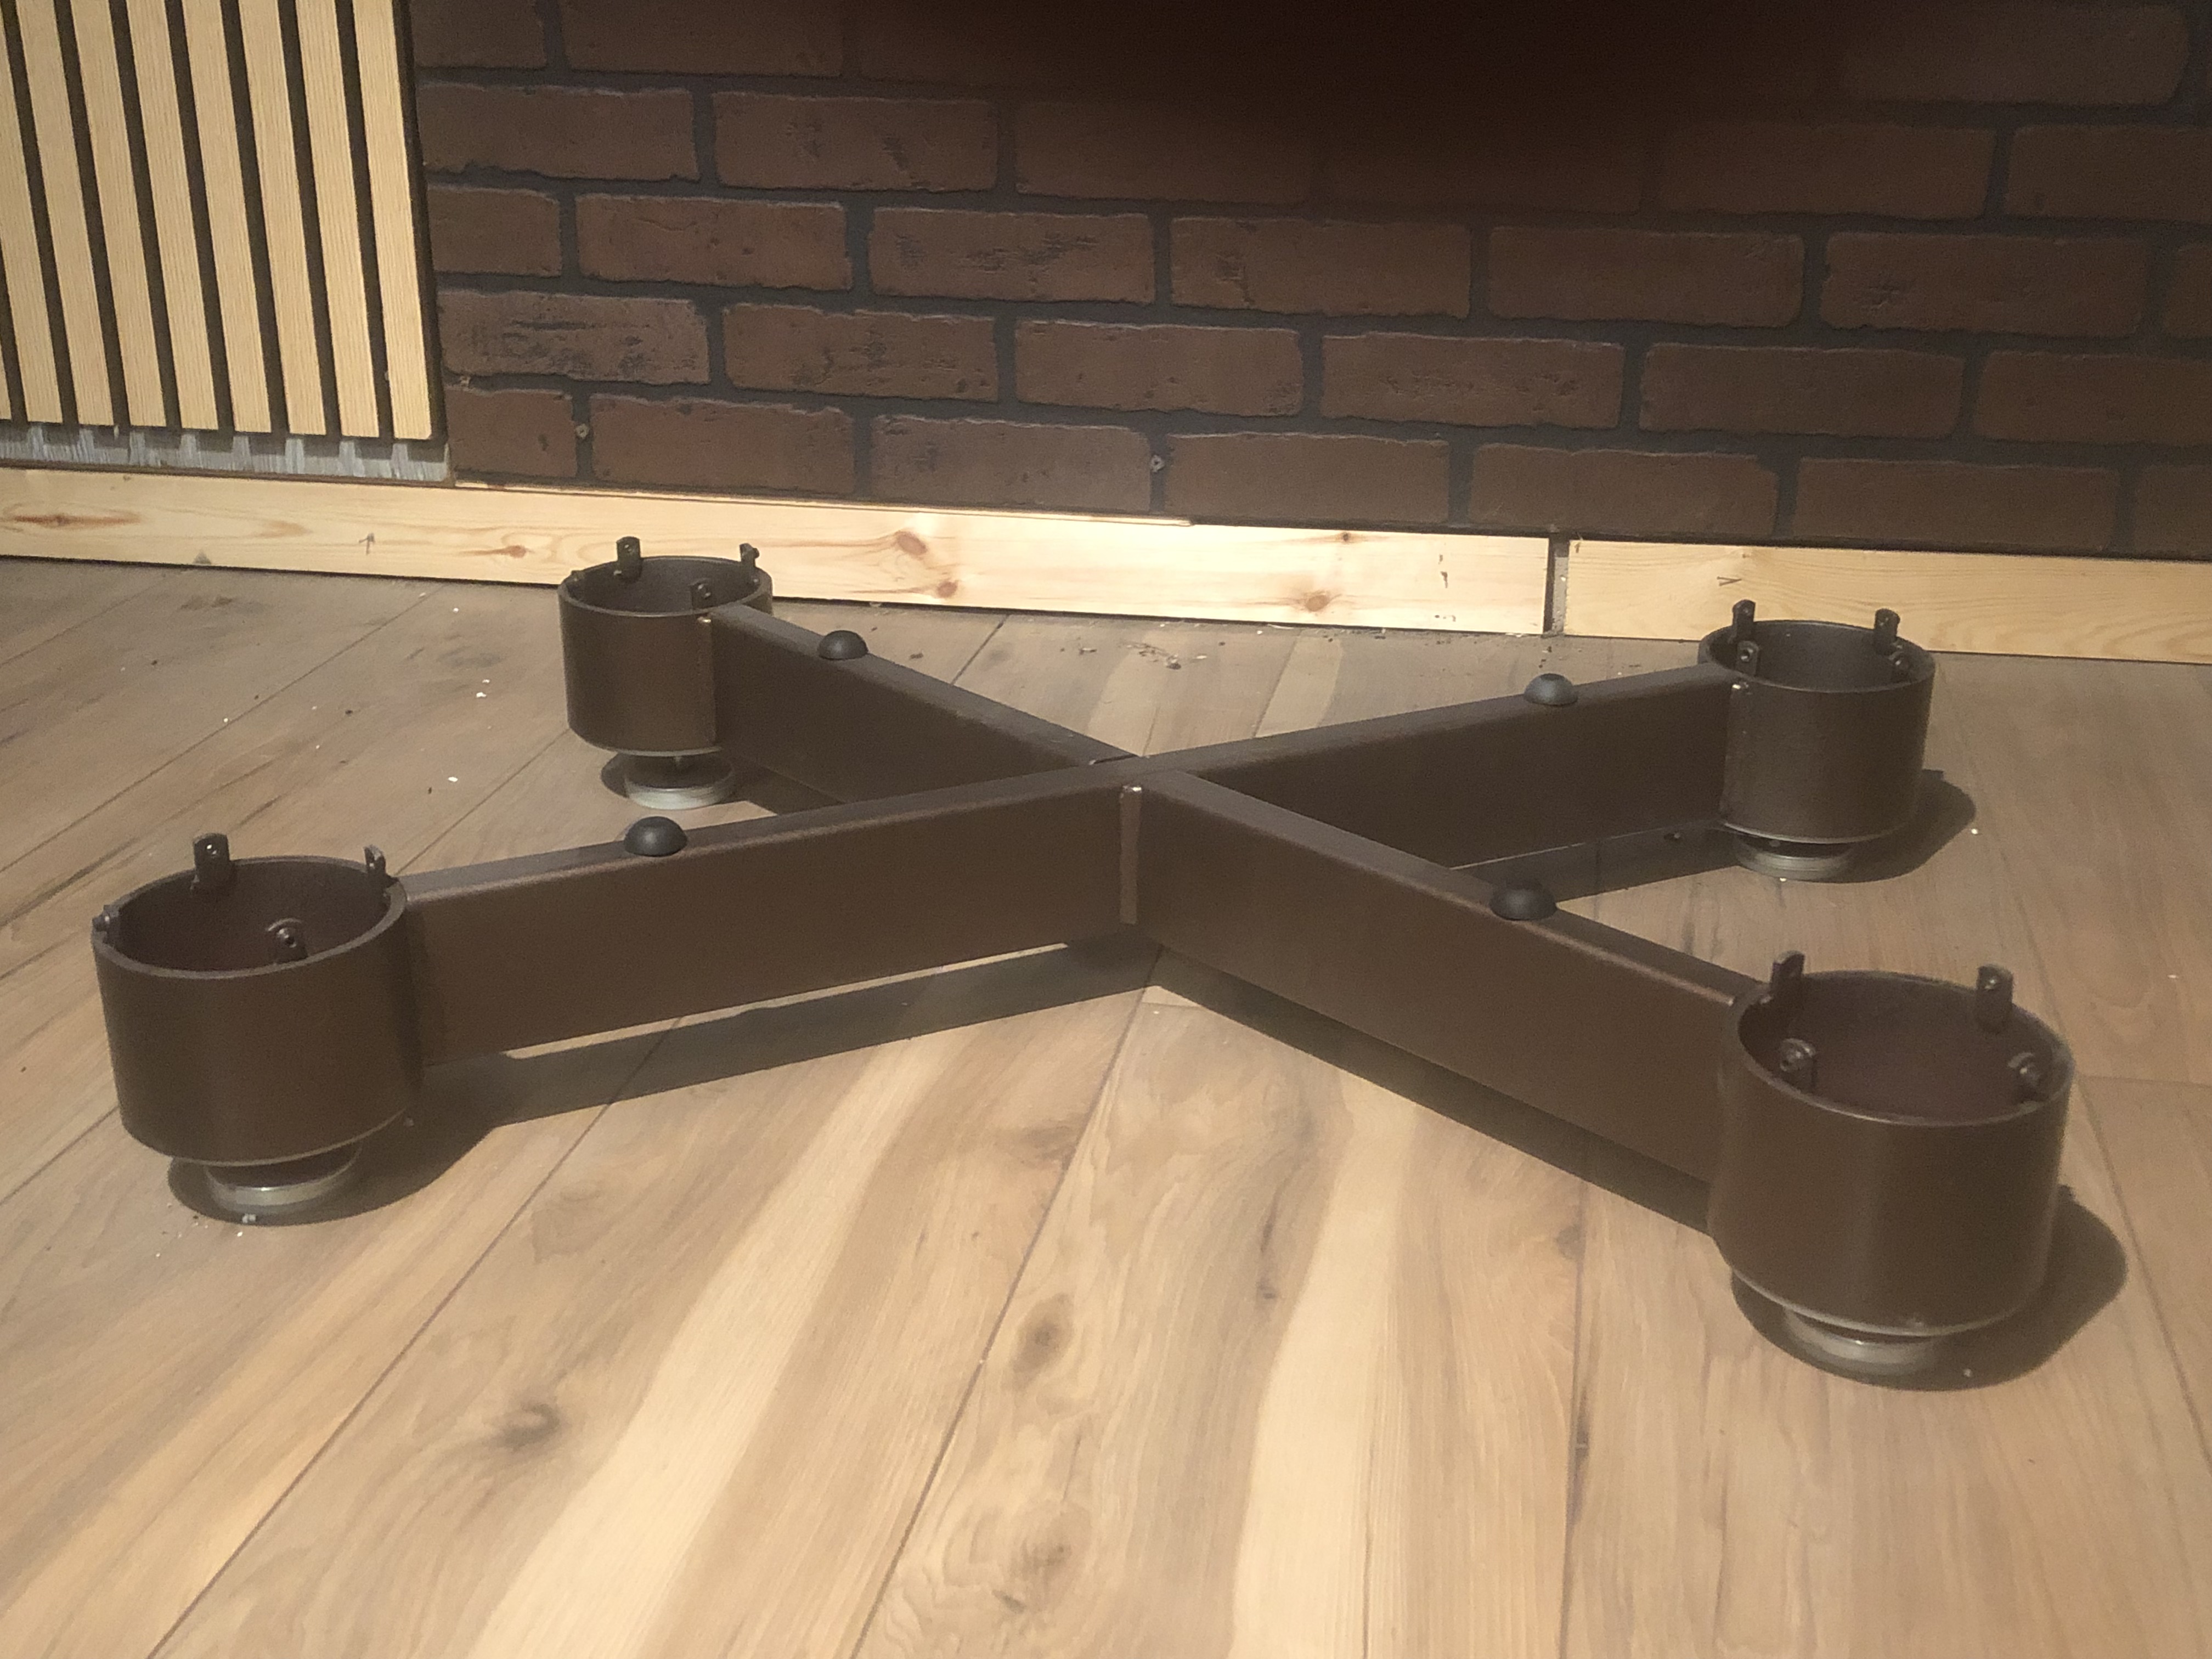
Attach footers to the subframe and place sub-frame on floor in roughly the final location of the rack. The footers may either be cones or flat-bottom glide feet.
Thread 12 small setscrews into the attachment tabs on each of the four corners of the subframe. Note: Only the three outer tabs require screws. The inner tab, closest to the rectangle beam is not used. Leave these 4 tabs empty.
Thread 4 rubber platform support bushings into the threaded inserts on the subframe.
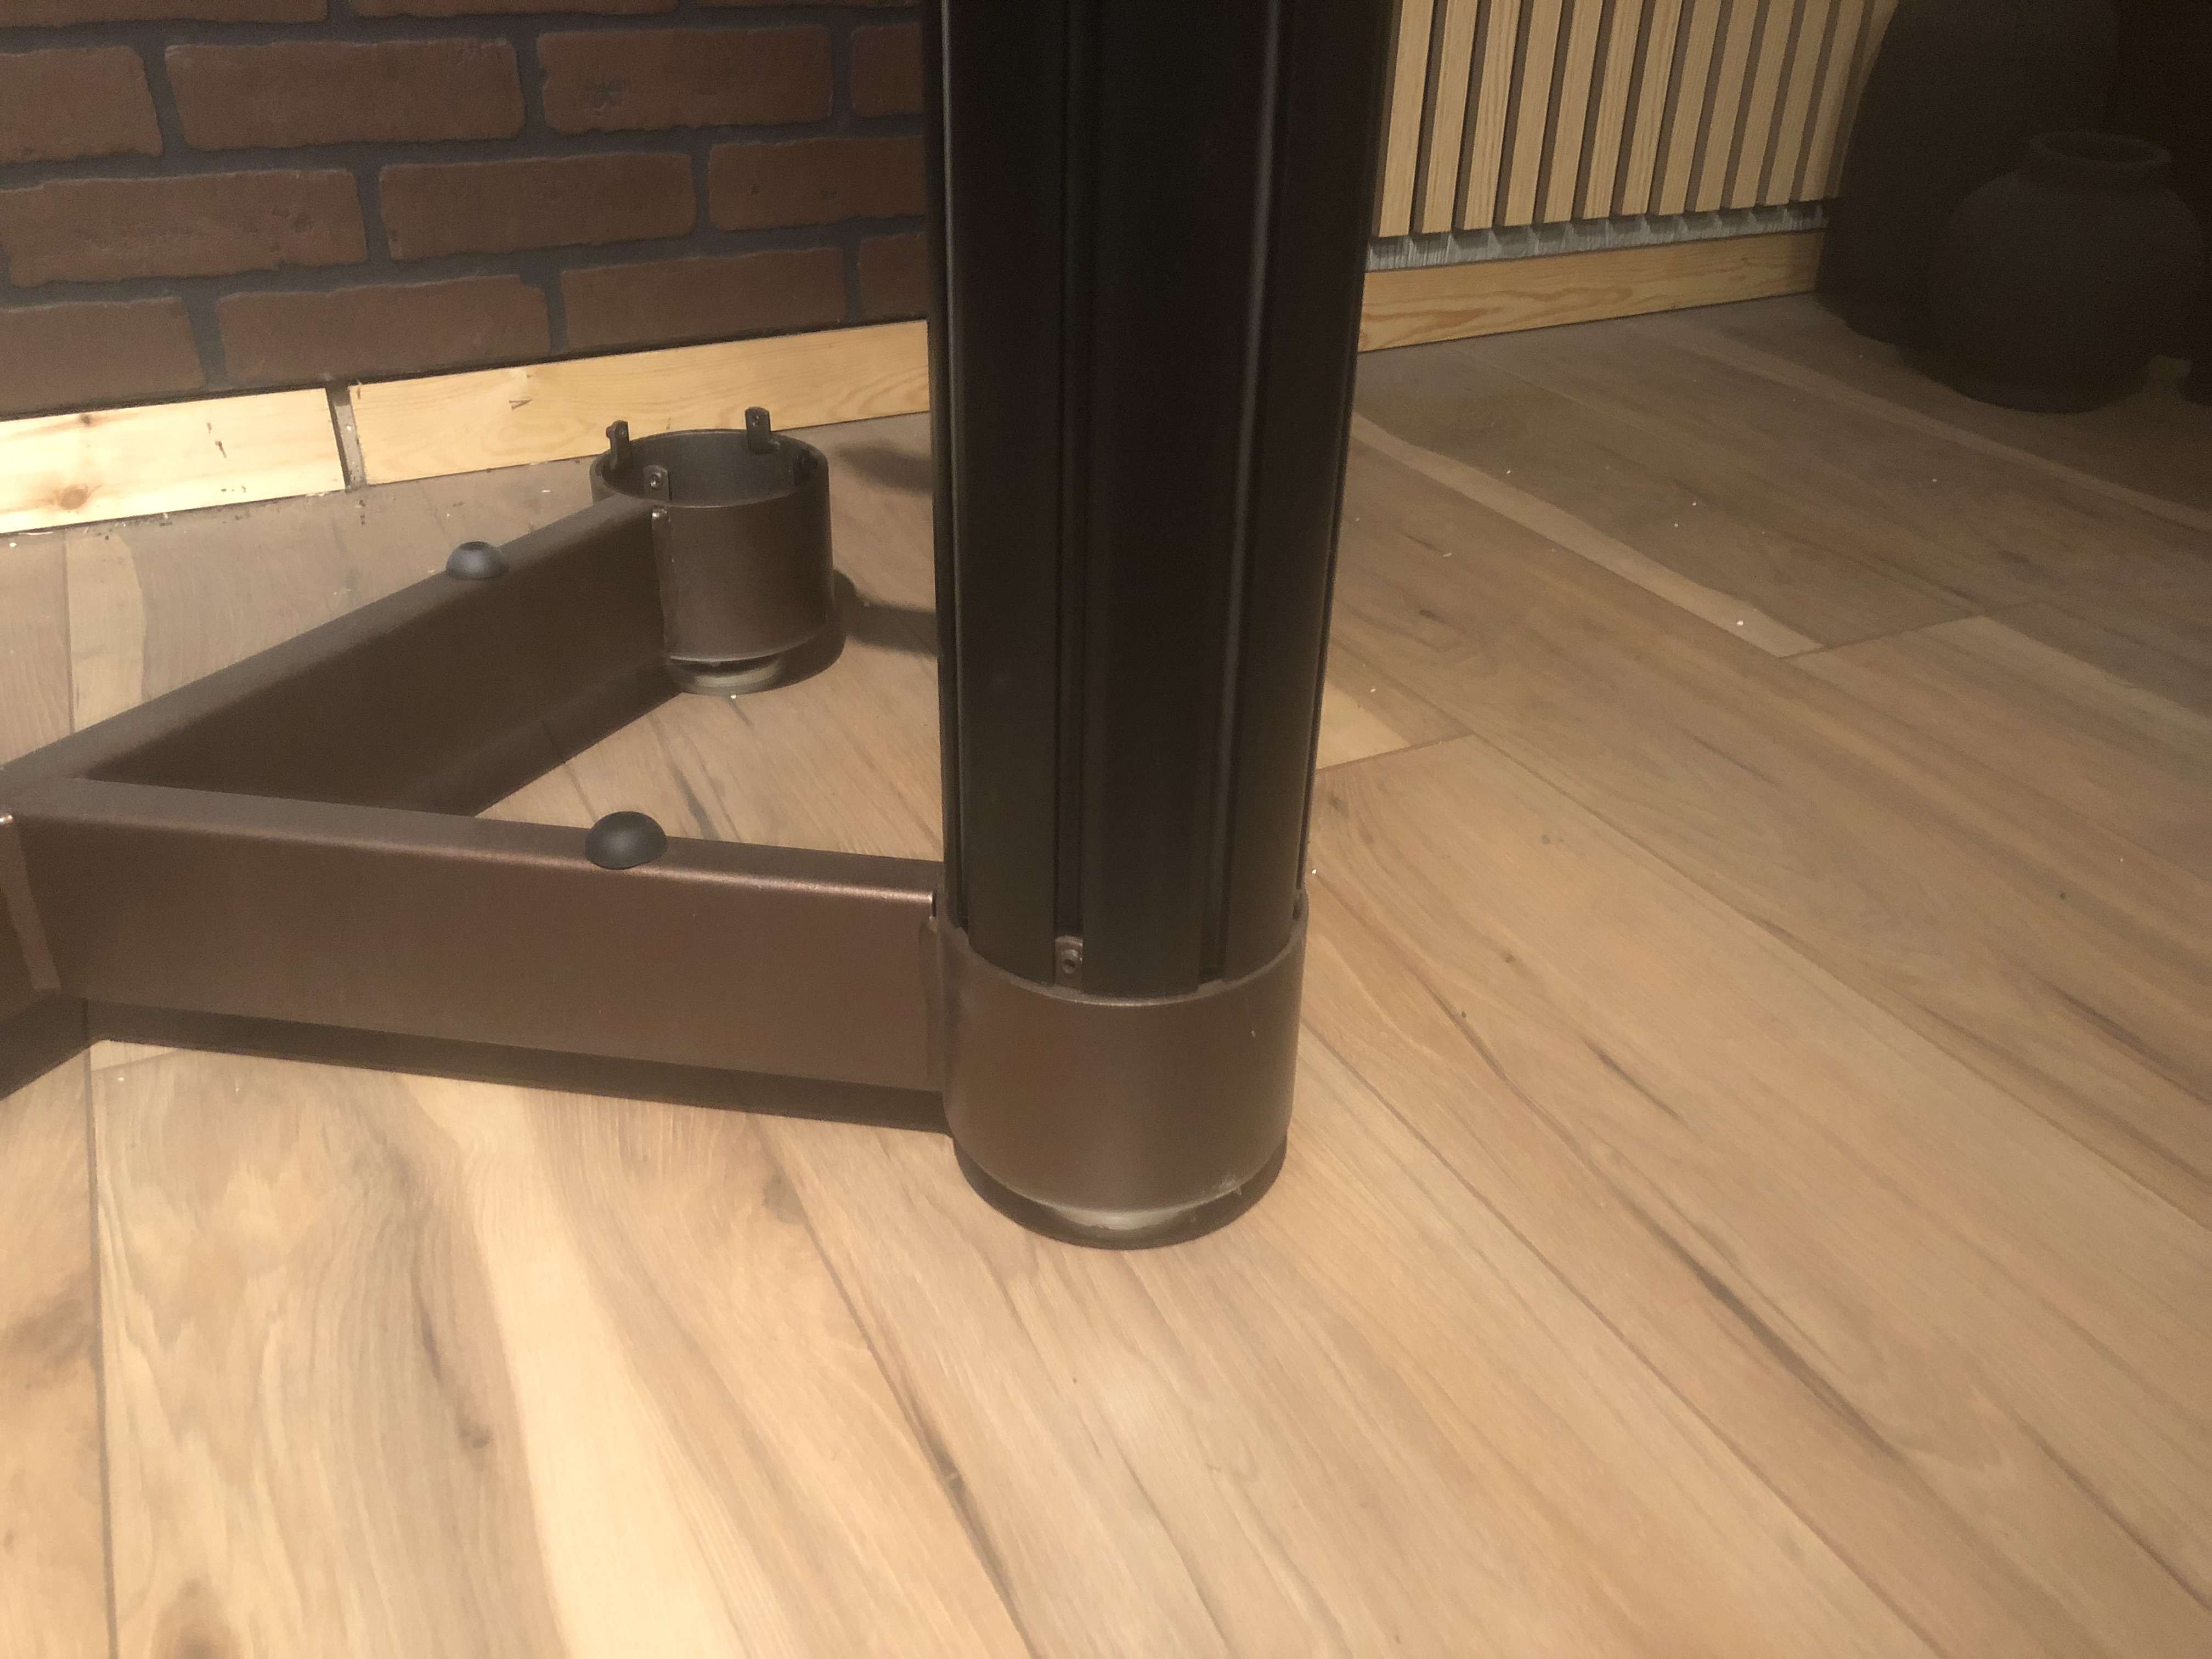
Place one of the columns into position on the frame. Tighten the three screws just until they barely touch the columns. Do not torque them down tight at this time.
.
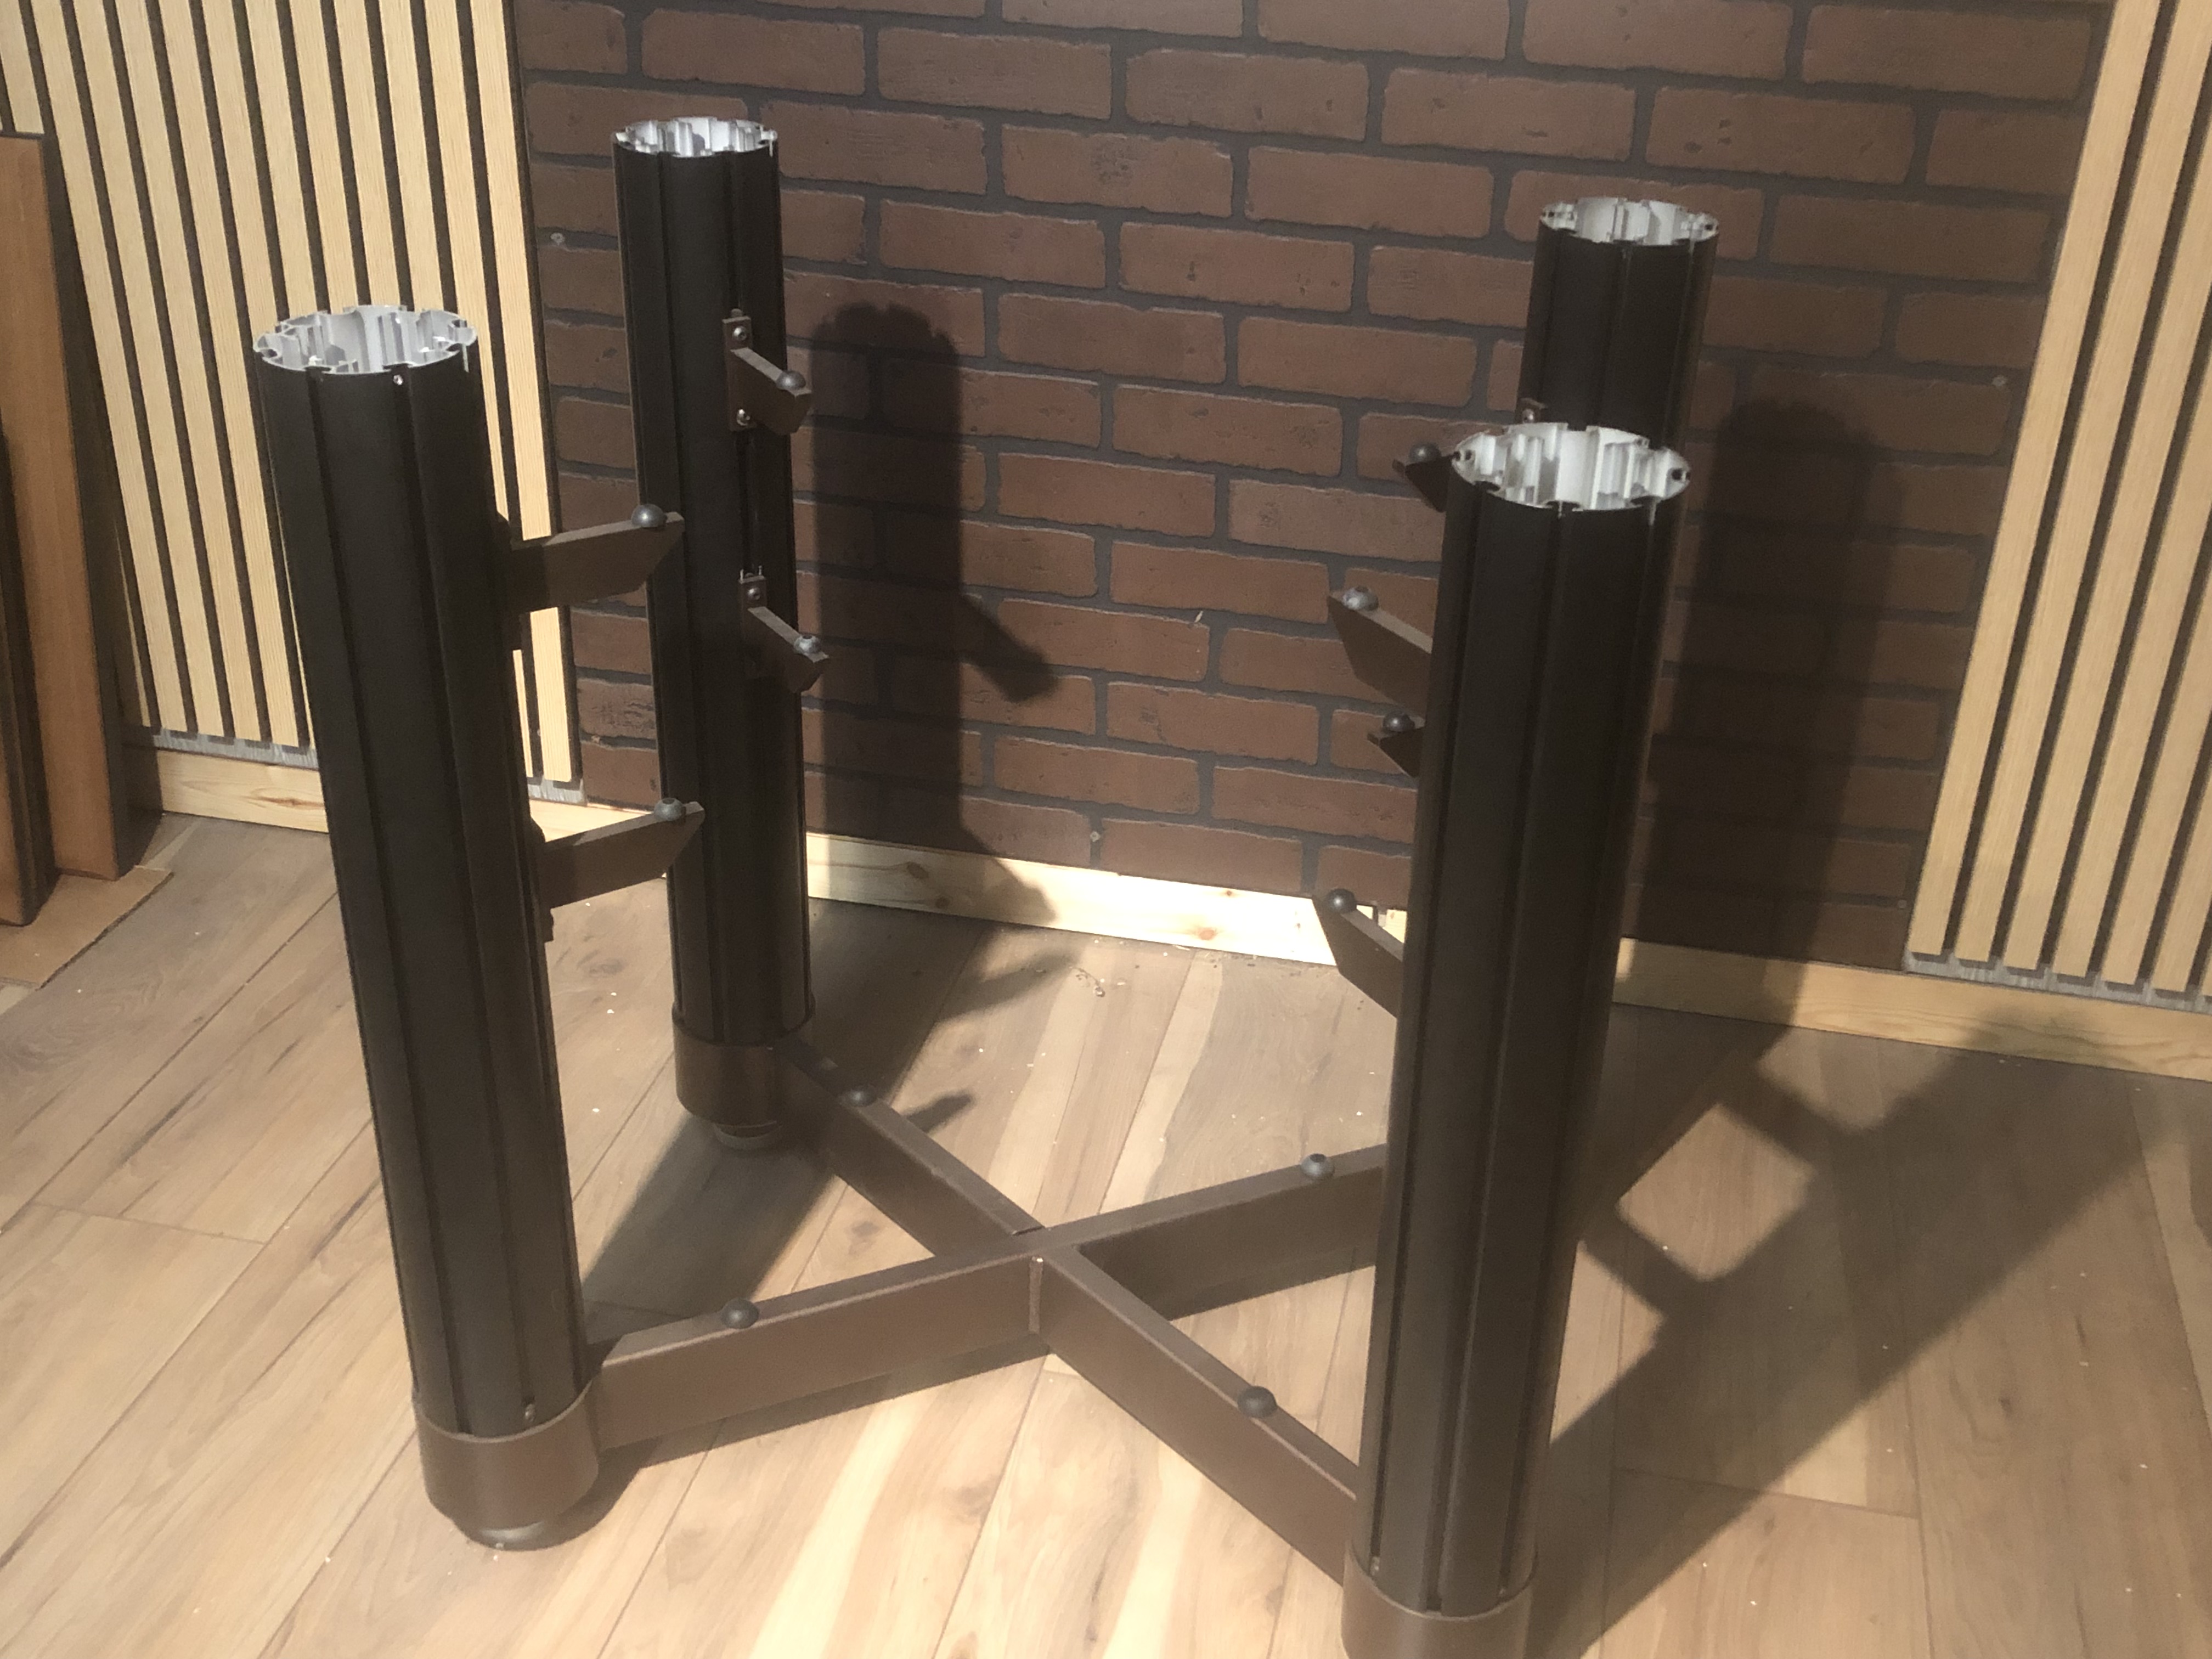
Place the remaining three columns onto the frame and lightly tighten the three outer screws. Place one or more brackets (as needed) onto each of the columns. The brackets are in the correct slot when they point toward the center of the rack as shown in the photo. Lightly tighten the bracket screws. They will be fully tightened later in the assembly procedure.
.
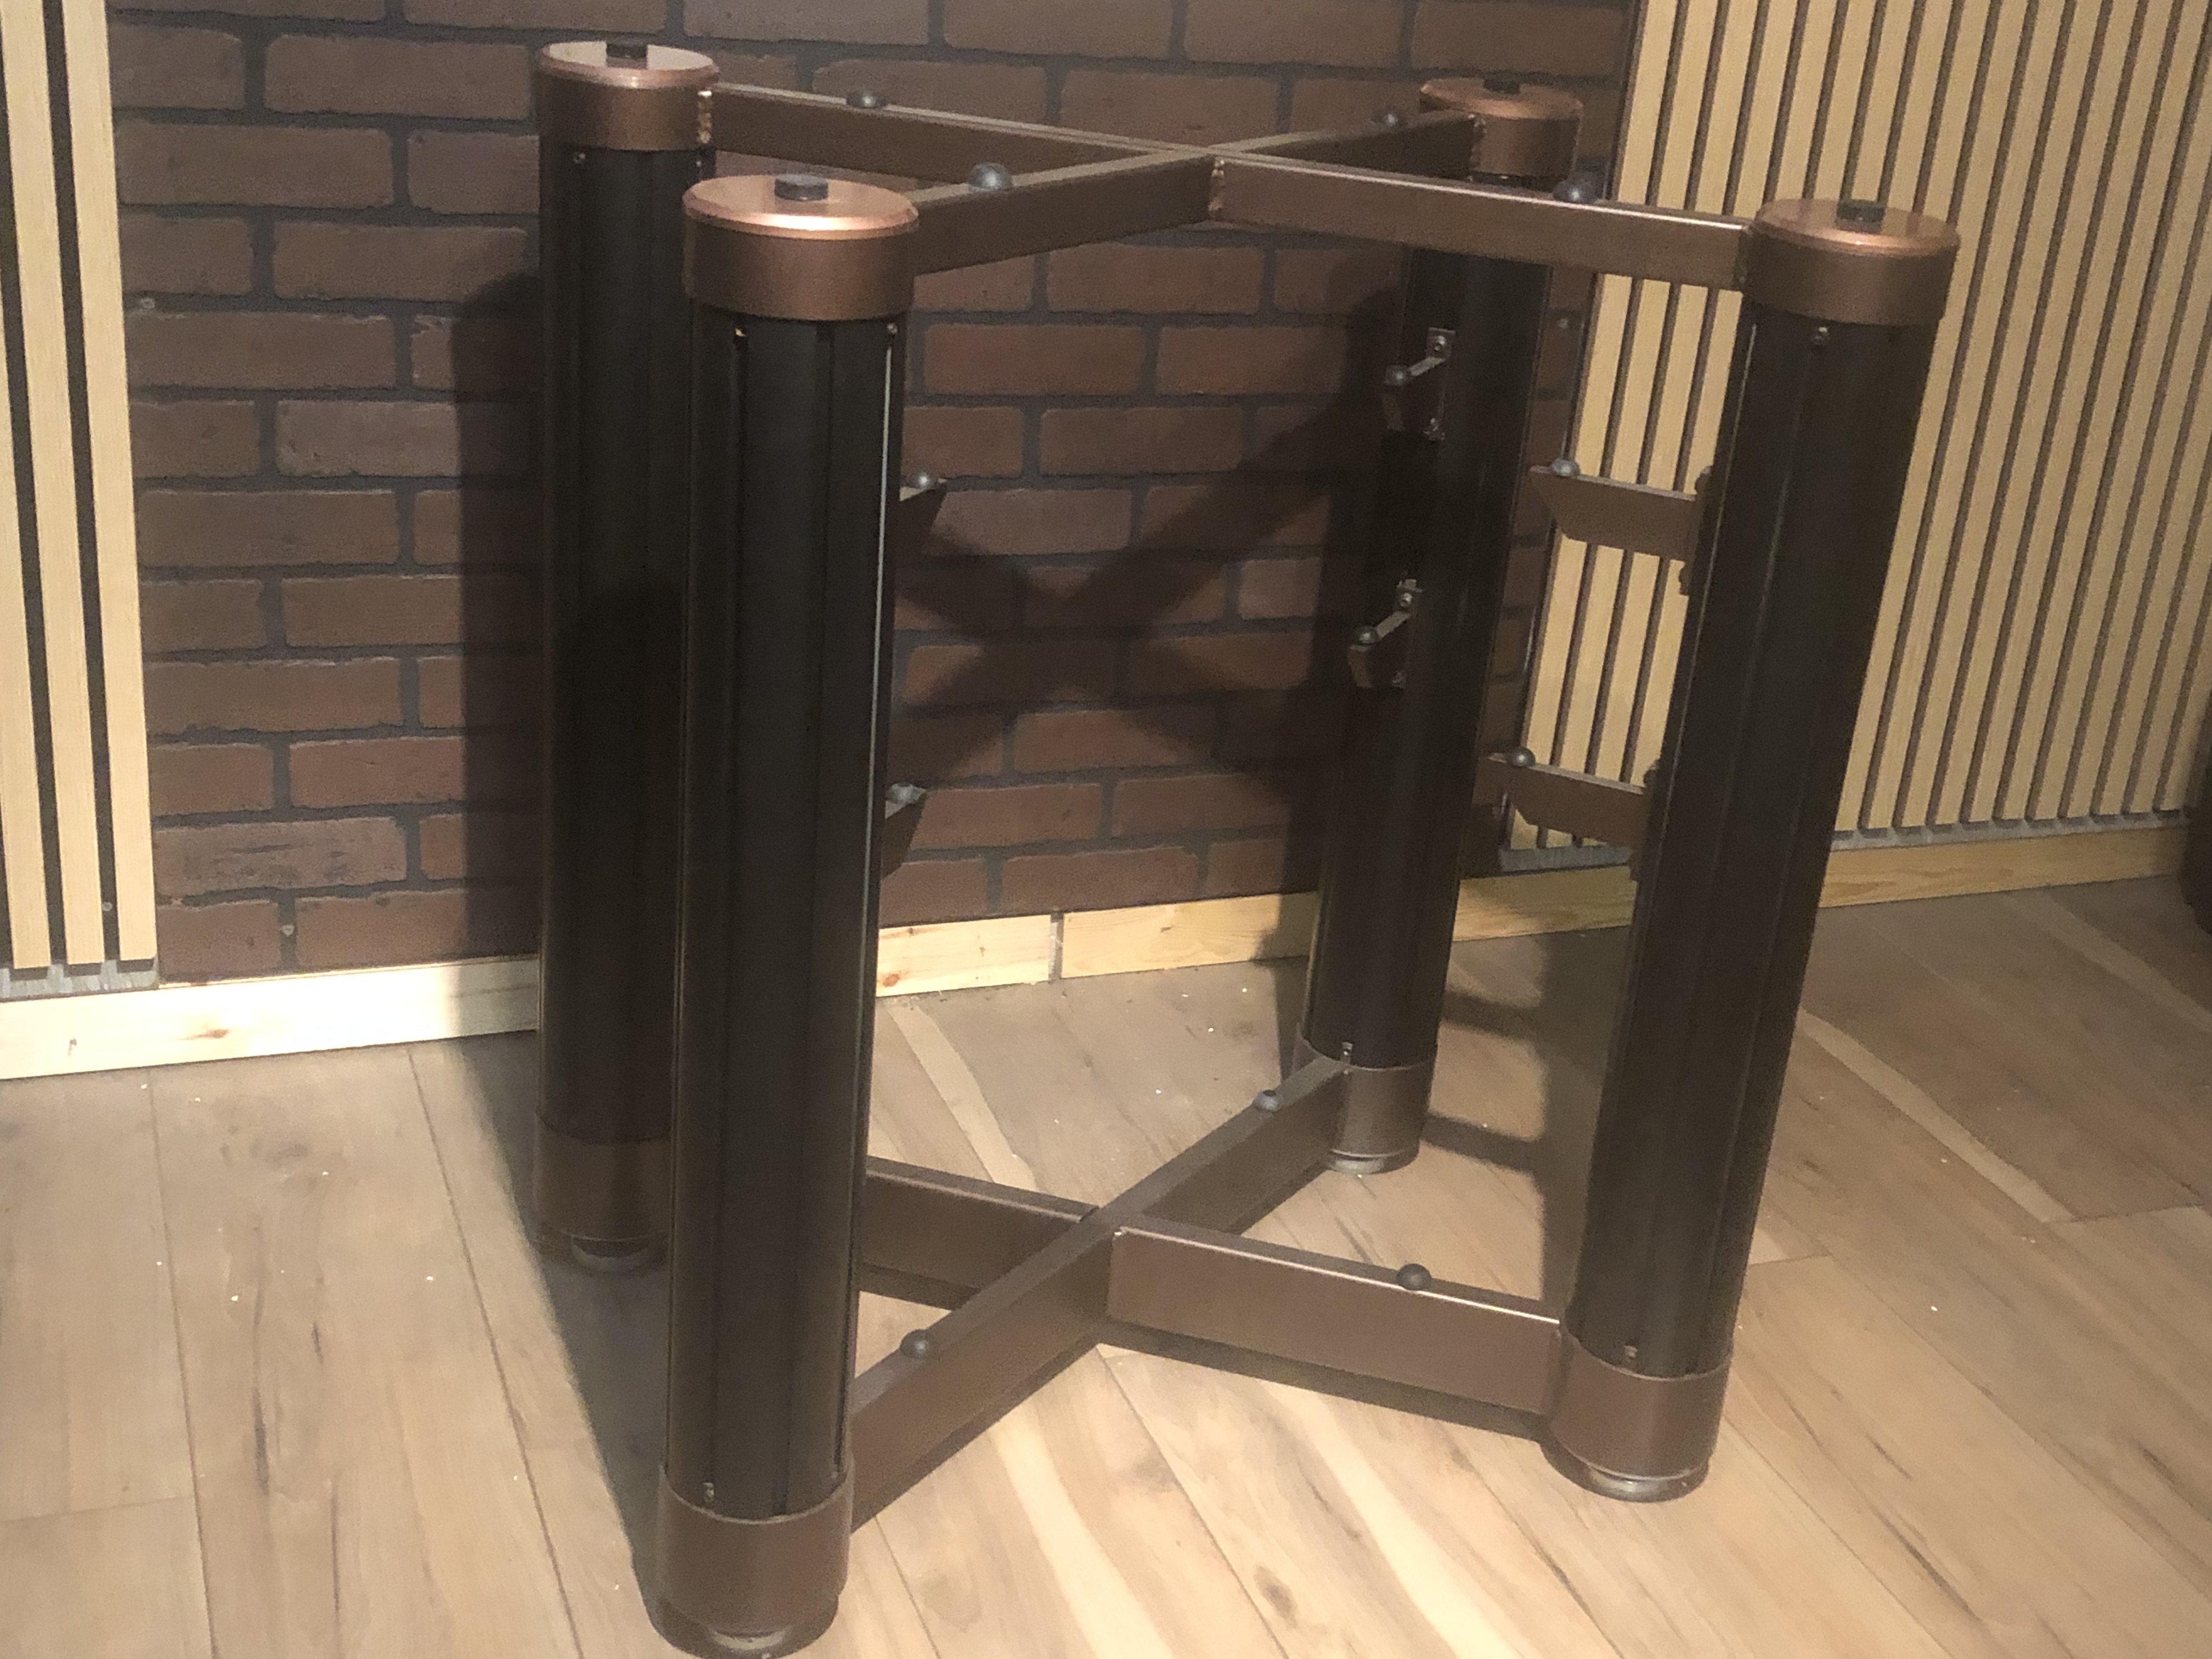
Set the top frame in place on top of the columns. Insert a setscrew into each of the twelve tabs on the top-frame. Ensure that the rack frame is true and square, then tighten all screws.
Determine the desired position for each of the shelves and adjust the height of the support brackets accordingly.
.
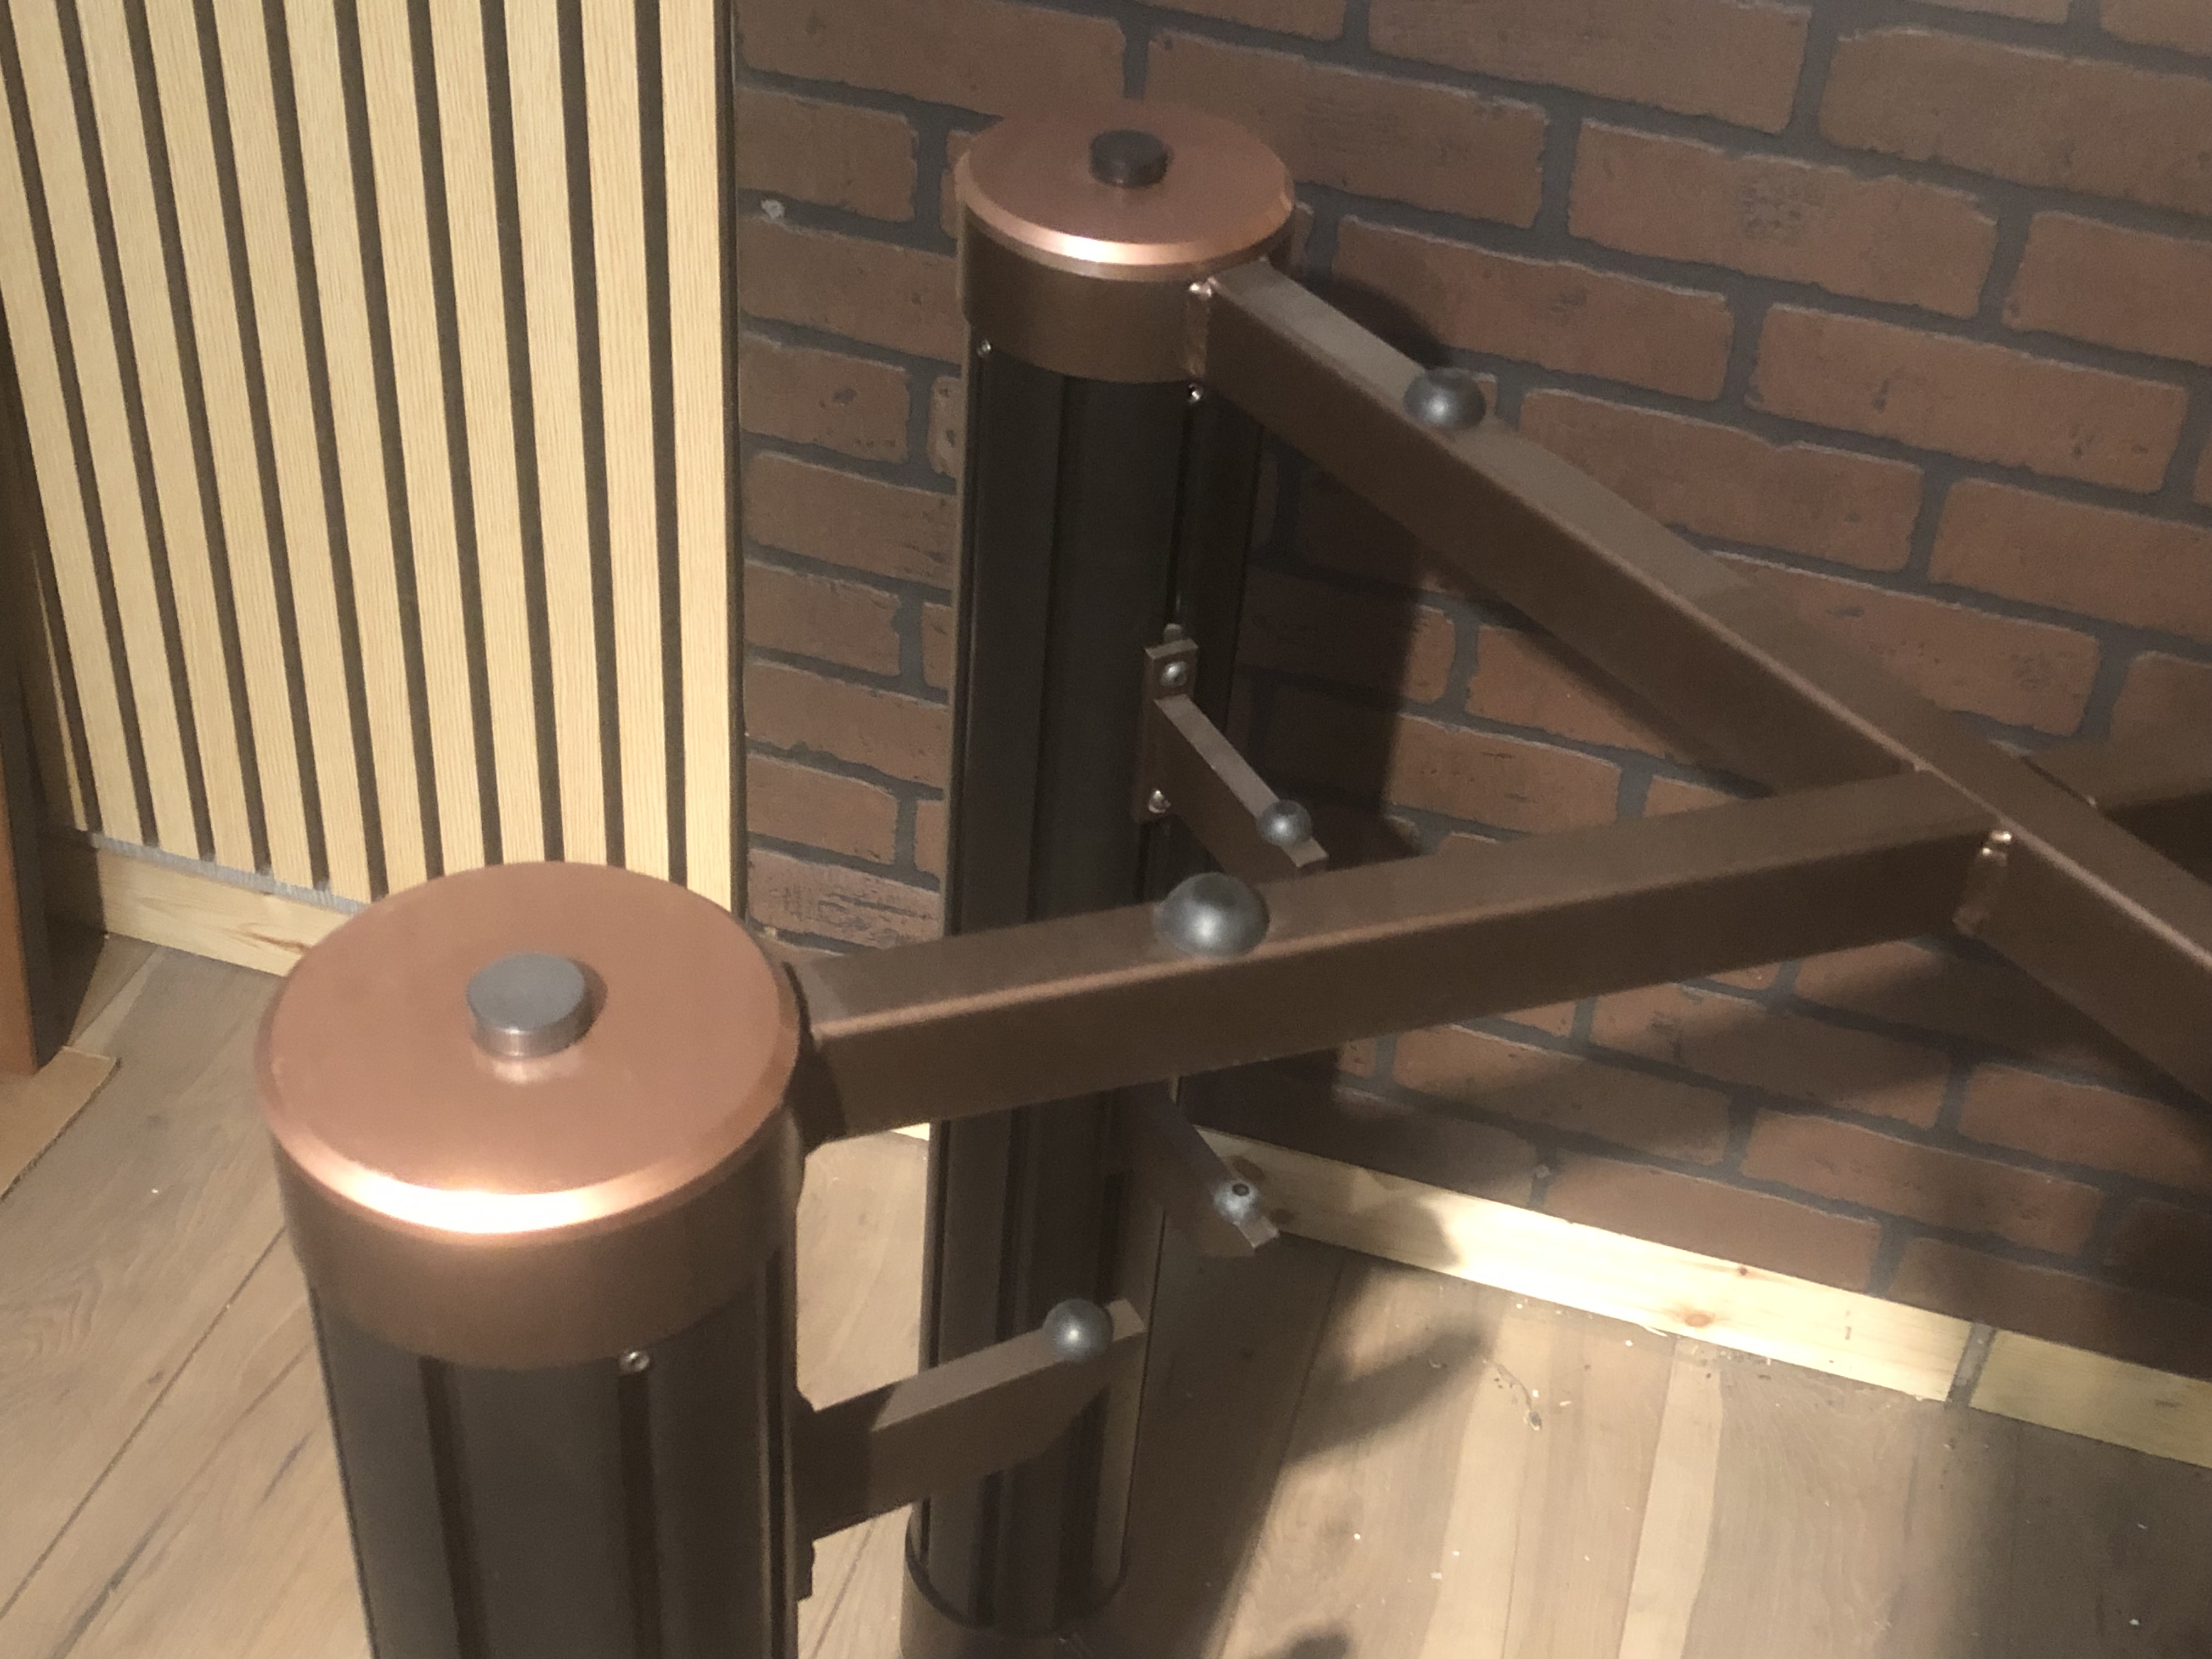
This rack is available with various top platform options. Only the super large turntable platform option uses a bushing screwed into the top of the posts. All other platform options rest on bushing screwed into the actual X-frame beams. Both variations are shown in the photo.
.
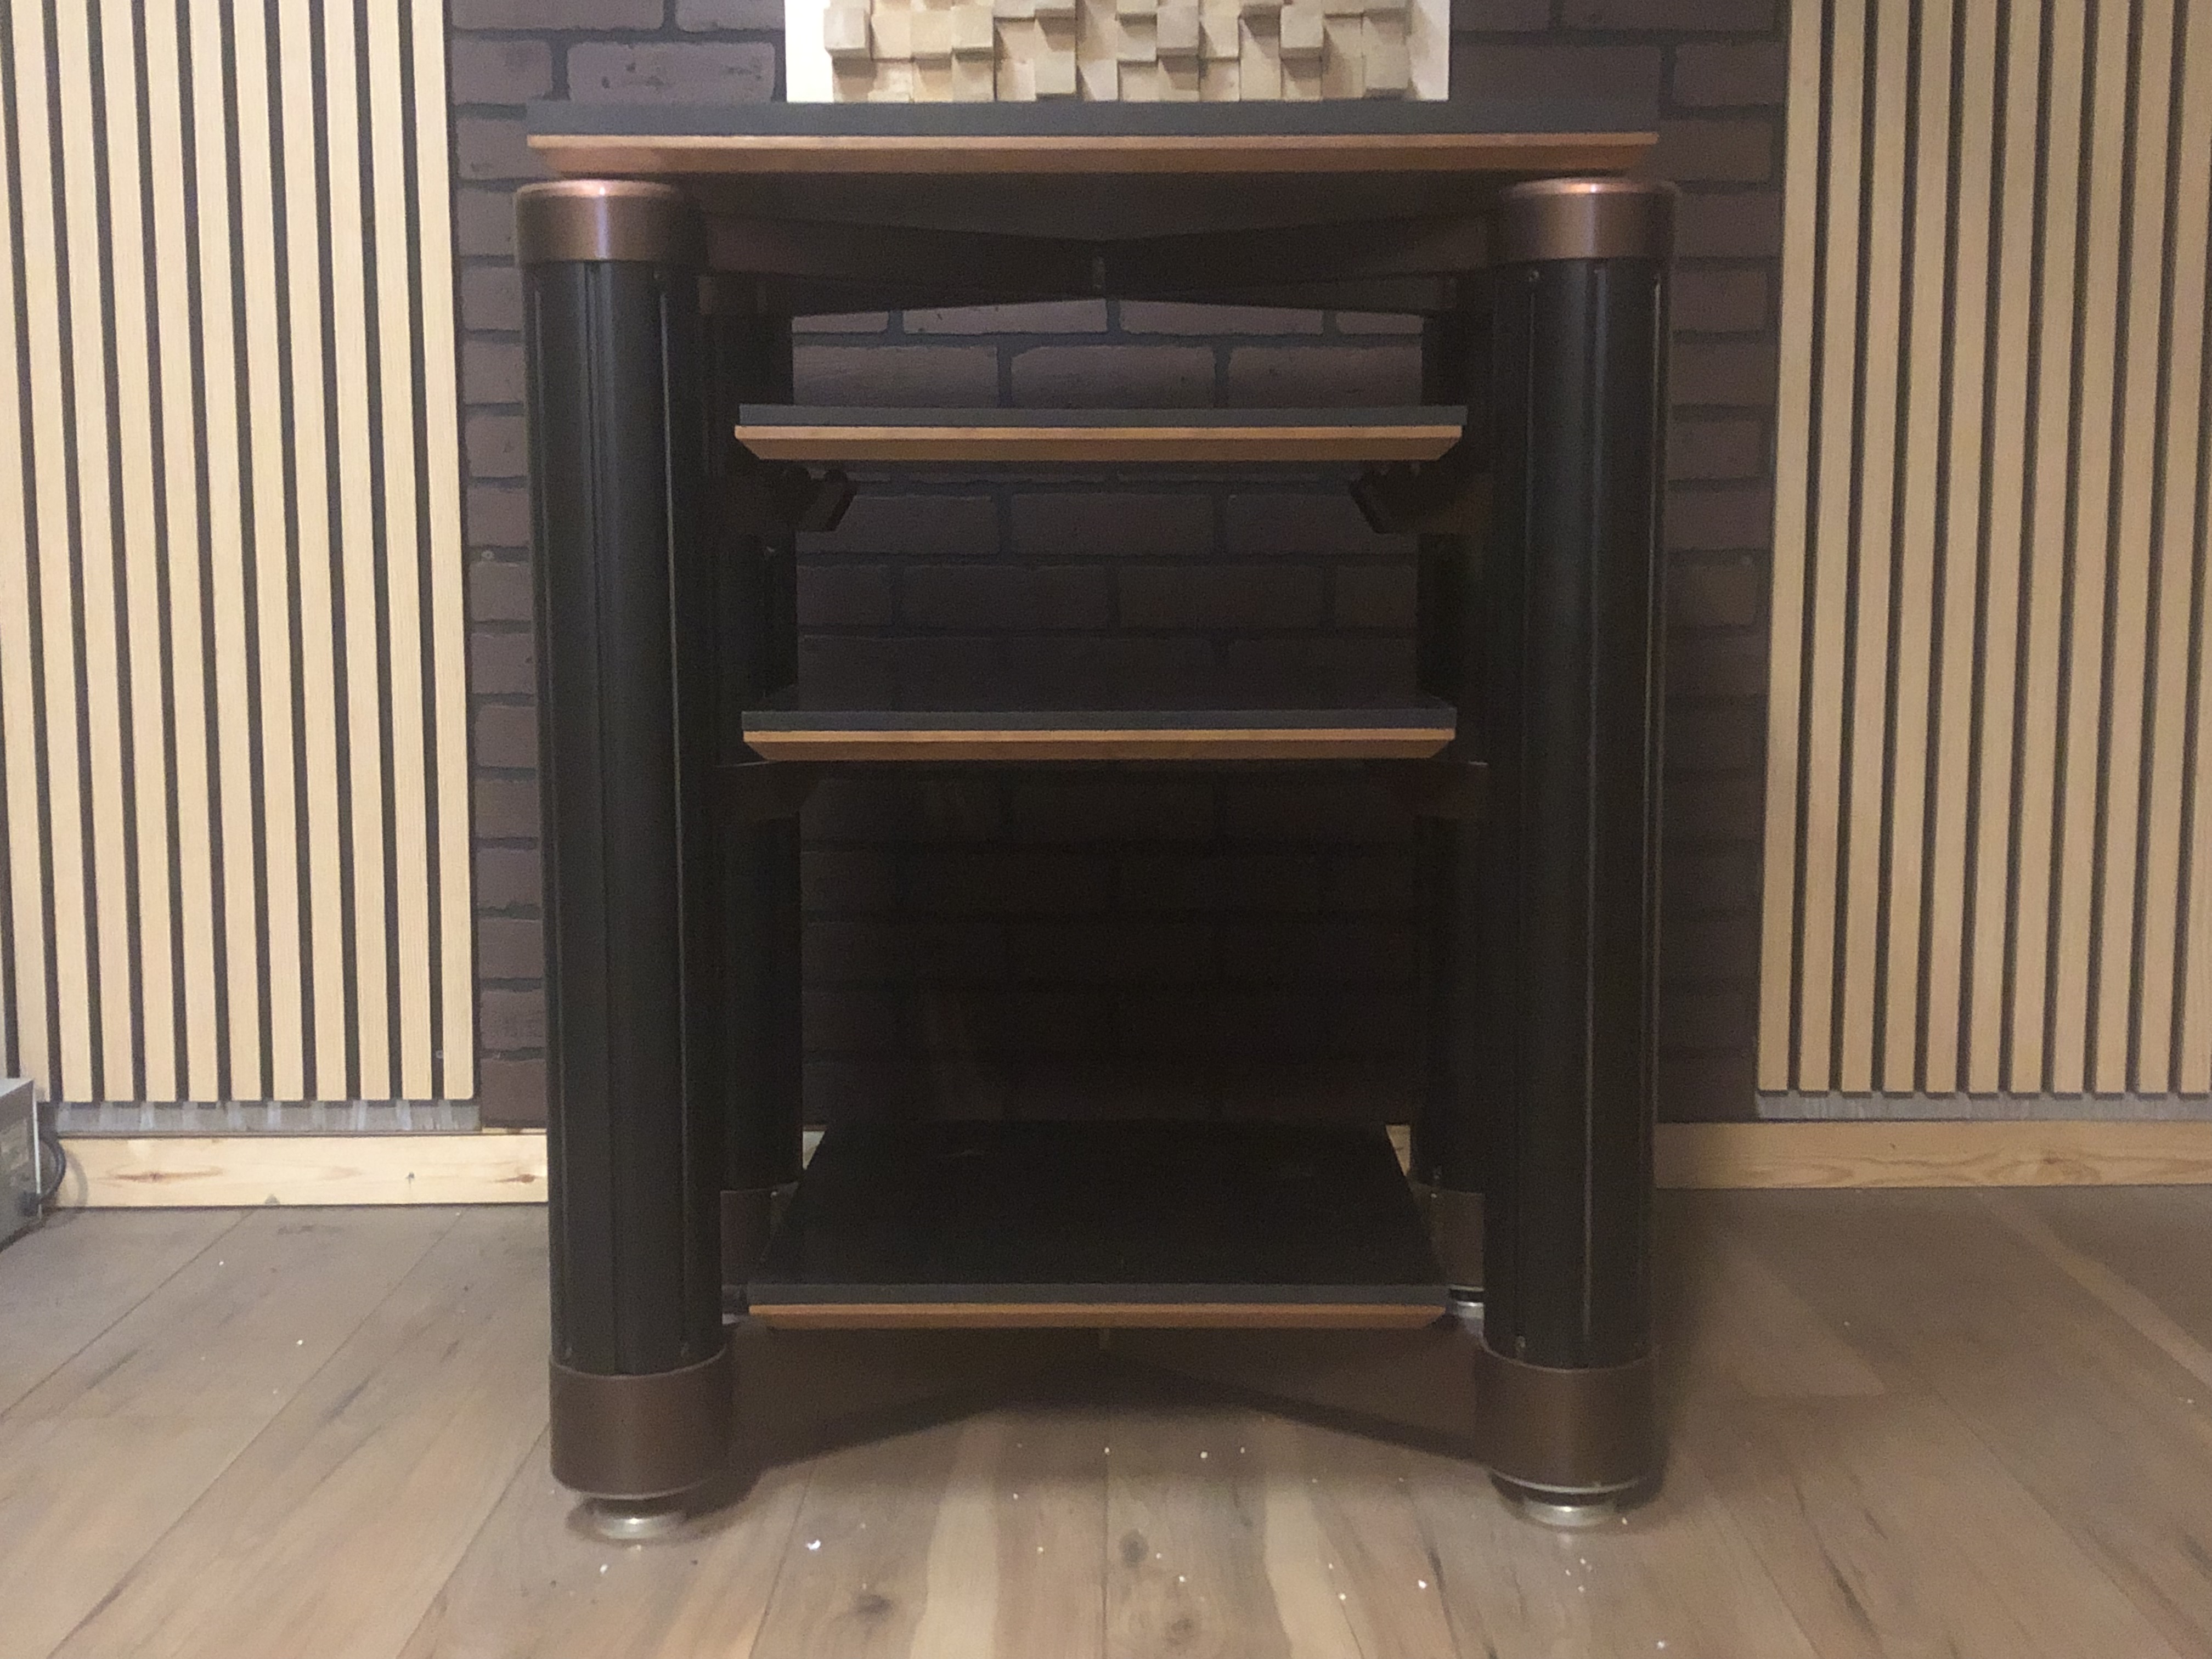
Place the standard size platforms onto the support brackets and on the bottom subframe. Place the remaining platform on the top frame. Go back over all the screws and make sure they are tight.
The rack is completed and ready to hold gear!.